Midday Engine
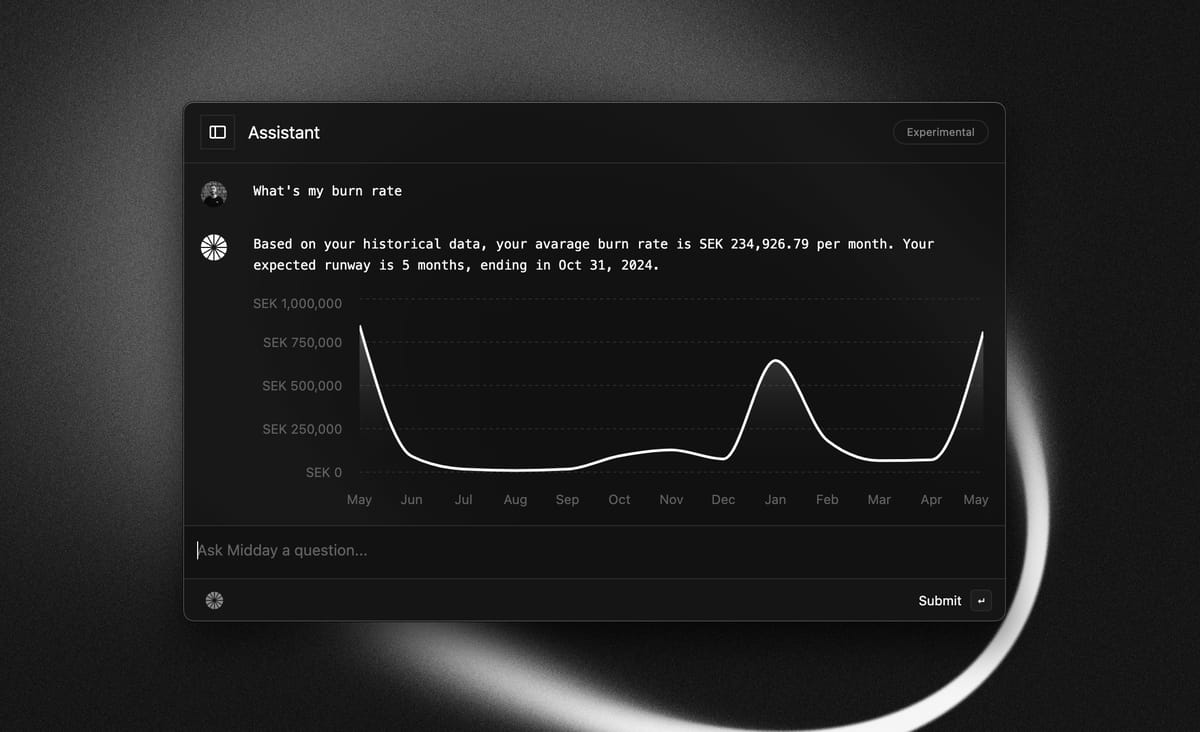
The core of Midday is based on our customers transactions. Using this data, we can do a lot to help you run your business smarter when it comes to financial insights, reconciling receipts, and more.
Today we support 3 different banking providers which enables us to connect to over 20 000+ banks in 33 countries across US, Canada, UK and Europe and more to come.
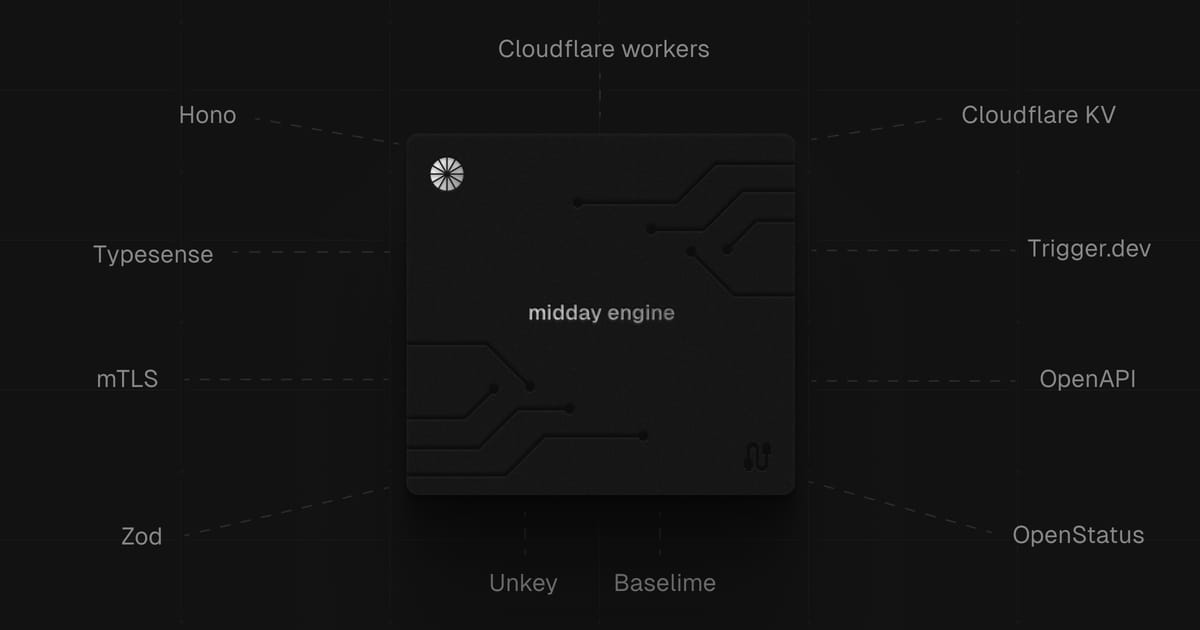
Here is an overview of the technologies and services we use to build our engine.

Architecture
We provide an API that gives our services transformed transactions, accounts, and balances for Midday to use. Here is how we built it and the technologies we chose.
- Cloudflare - (workers, cron, mTLS)
- Hono- (framework, OpenAPI, RPC)
- Typesense - search index
- Trigger.dev - background jobs
- Unkey - API keys, rate limiting, and usage analytics
- OpenStatus - monitoring and alerts
Cloudflare
We use a lot of services in Cloudflare. Workers is the compute where our API is hosted, using Hono as our framework.
The API uses OpenAPI v3.0 and exposes endpoints for transactions, accounts, search, and balances.
We use Cloudflare KV for session caching with GoCardless to avoid hitting any rate limits and for general caching purposes.
In the end, we have one interface for our customers to search for their institution. To support this, we retrieve all institutions from our providers, transform the information, and store it in Typesense. We use a simple Cron job in Cloudflare every 24 hours to ensure we have the most recent information.
To connect to Teller, you need to use mTLS to authenticate. Thanks to Cloudflare, we can just upload our certificate and configure our worker to use it when needed.
Hono
We chose to use the Hono framework because it's portable, super lightweight, and provides an incredible developer experience among other features:
- Caching - we cache directly in Cloudflare
- Zod - for parsing and validating payloads
- OpenAPI - generate our specification
Typesense
For our customers, we want just one interface for them to search and find their bank. For that to be possible, we needed an index, and we went with Typesense because it's super powerful and easy to use.
We show banks based on country, fuzzy search, and priority.
Unkey
We will soon offer Engine to other companies to use. We will use Unkey for API key management, rate limits, and analytics.
Trigger.dev
Our platform fetches transactions regularly with the help of background jobs hosted by Trigger.dev, communicating with our Engine API via RPC. We also use:
- Retries
- Logging
- Error handling
Sentry
To deliver a great service, it's super important to fix bugs and issues fast. With the help of Sentry, we can see what's going on and where we have issues. Additionally, we can also know when external APIs underperform or if we have any other bottlenecks.
- Logging and debugging
- Alerts
- Performance metrics
OpenStatus
Because we rely on external APIs, it's important for us to monitor their statuses. In our Engine, we expose a /health endpoint that requests each service’s endpoints so we can use OpenStatus to monitor our Engine's health.
Based on this status, we can exclude providers that have temporary issues and get a single source of truth about how our Engine works.
- Status page
- Alerts
What's next
We are currently updating our engine. In the end, other companies will be able to use our engine to support a wider range of banks with just one API in their systems.
If you are interested, feel free to sign up here for more information.
Midday is fully open source. Feel free to check out our code here.