Updates

Generating PDF Invoices: Our Approach

Generating PDF Invoices: Our Approach

With our upcoming Invoicing feature, we have explored various methods to generate PDF invoices, ranging from running Puppeteer to using a headless browser on Cloudflare, as well as considering paid services and generating PDFs using React.


We've noticed that generating PDF invoices is a common challenge in the developer community, so we decided to share our solution with you.
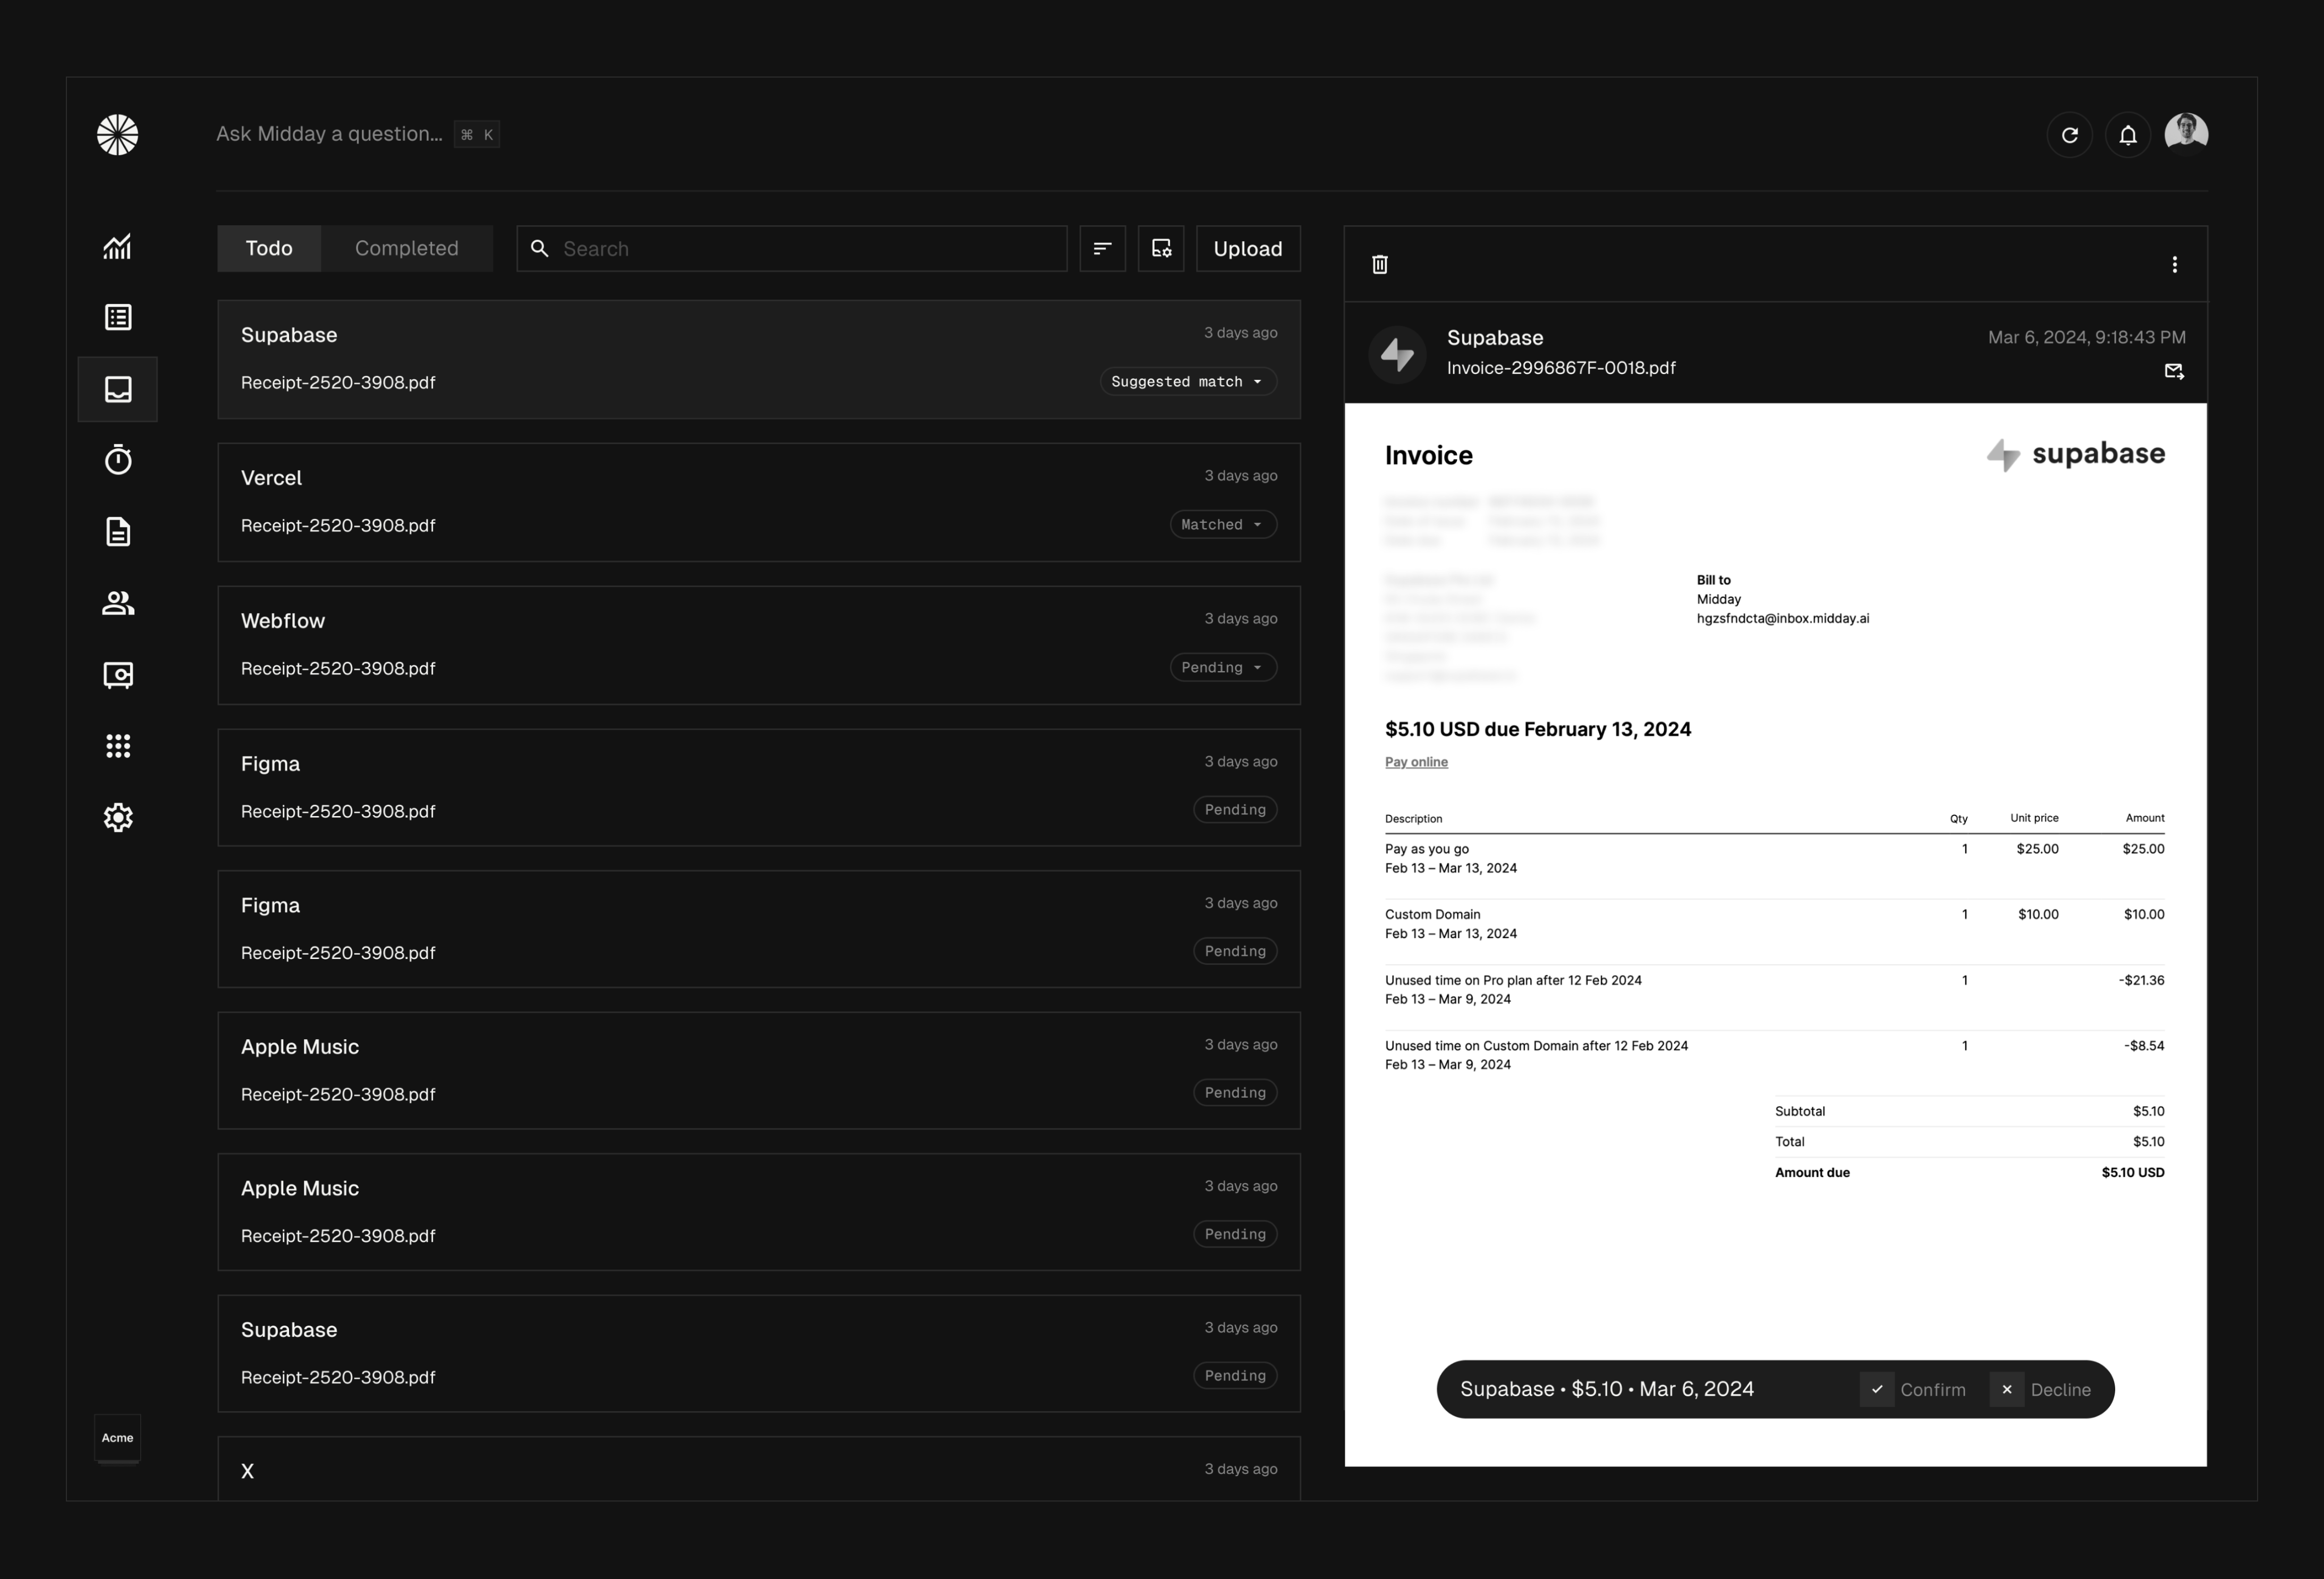
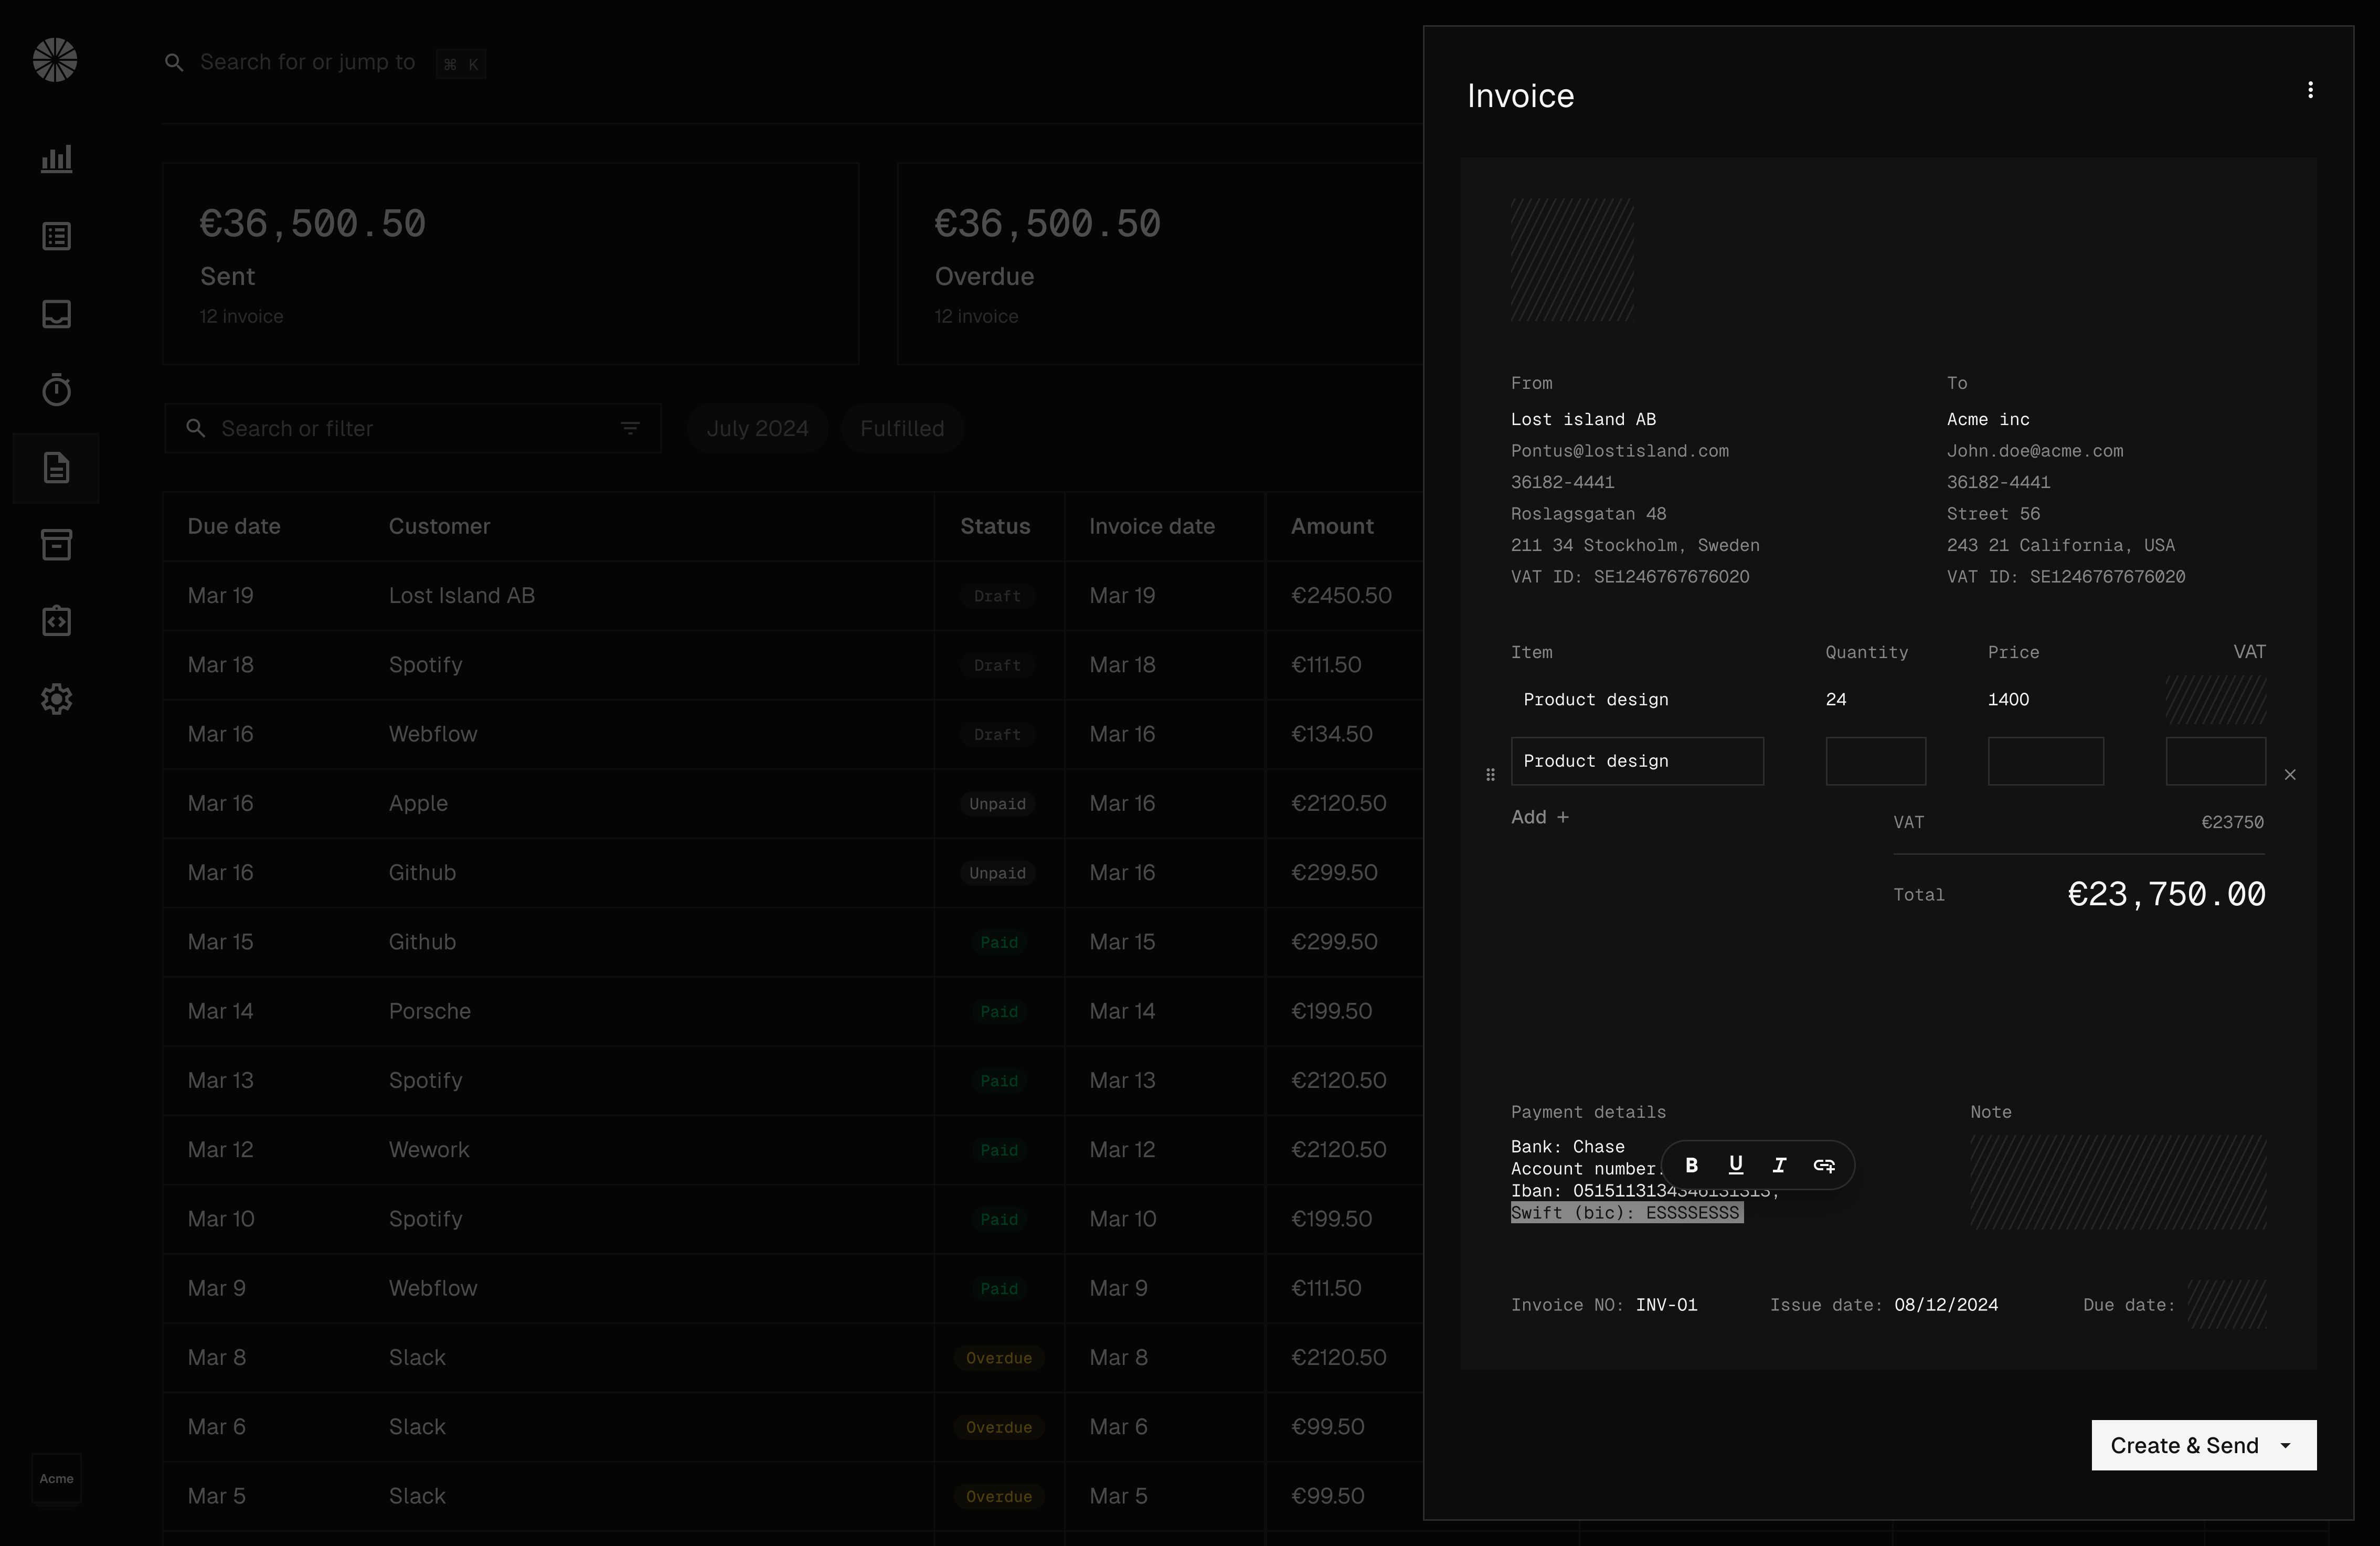

Invoice in Midday

PDF Invoices


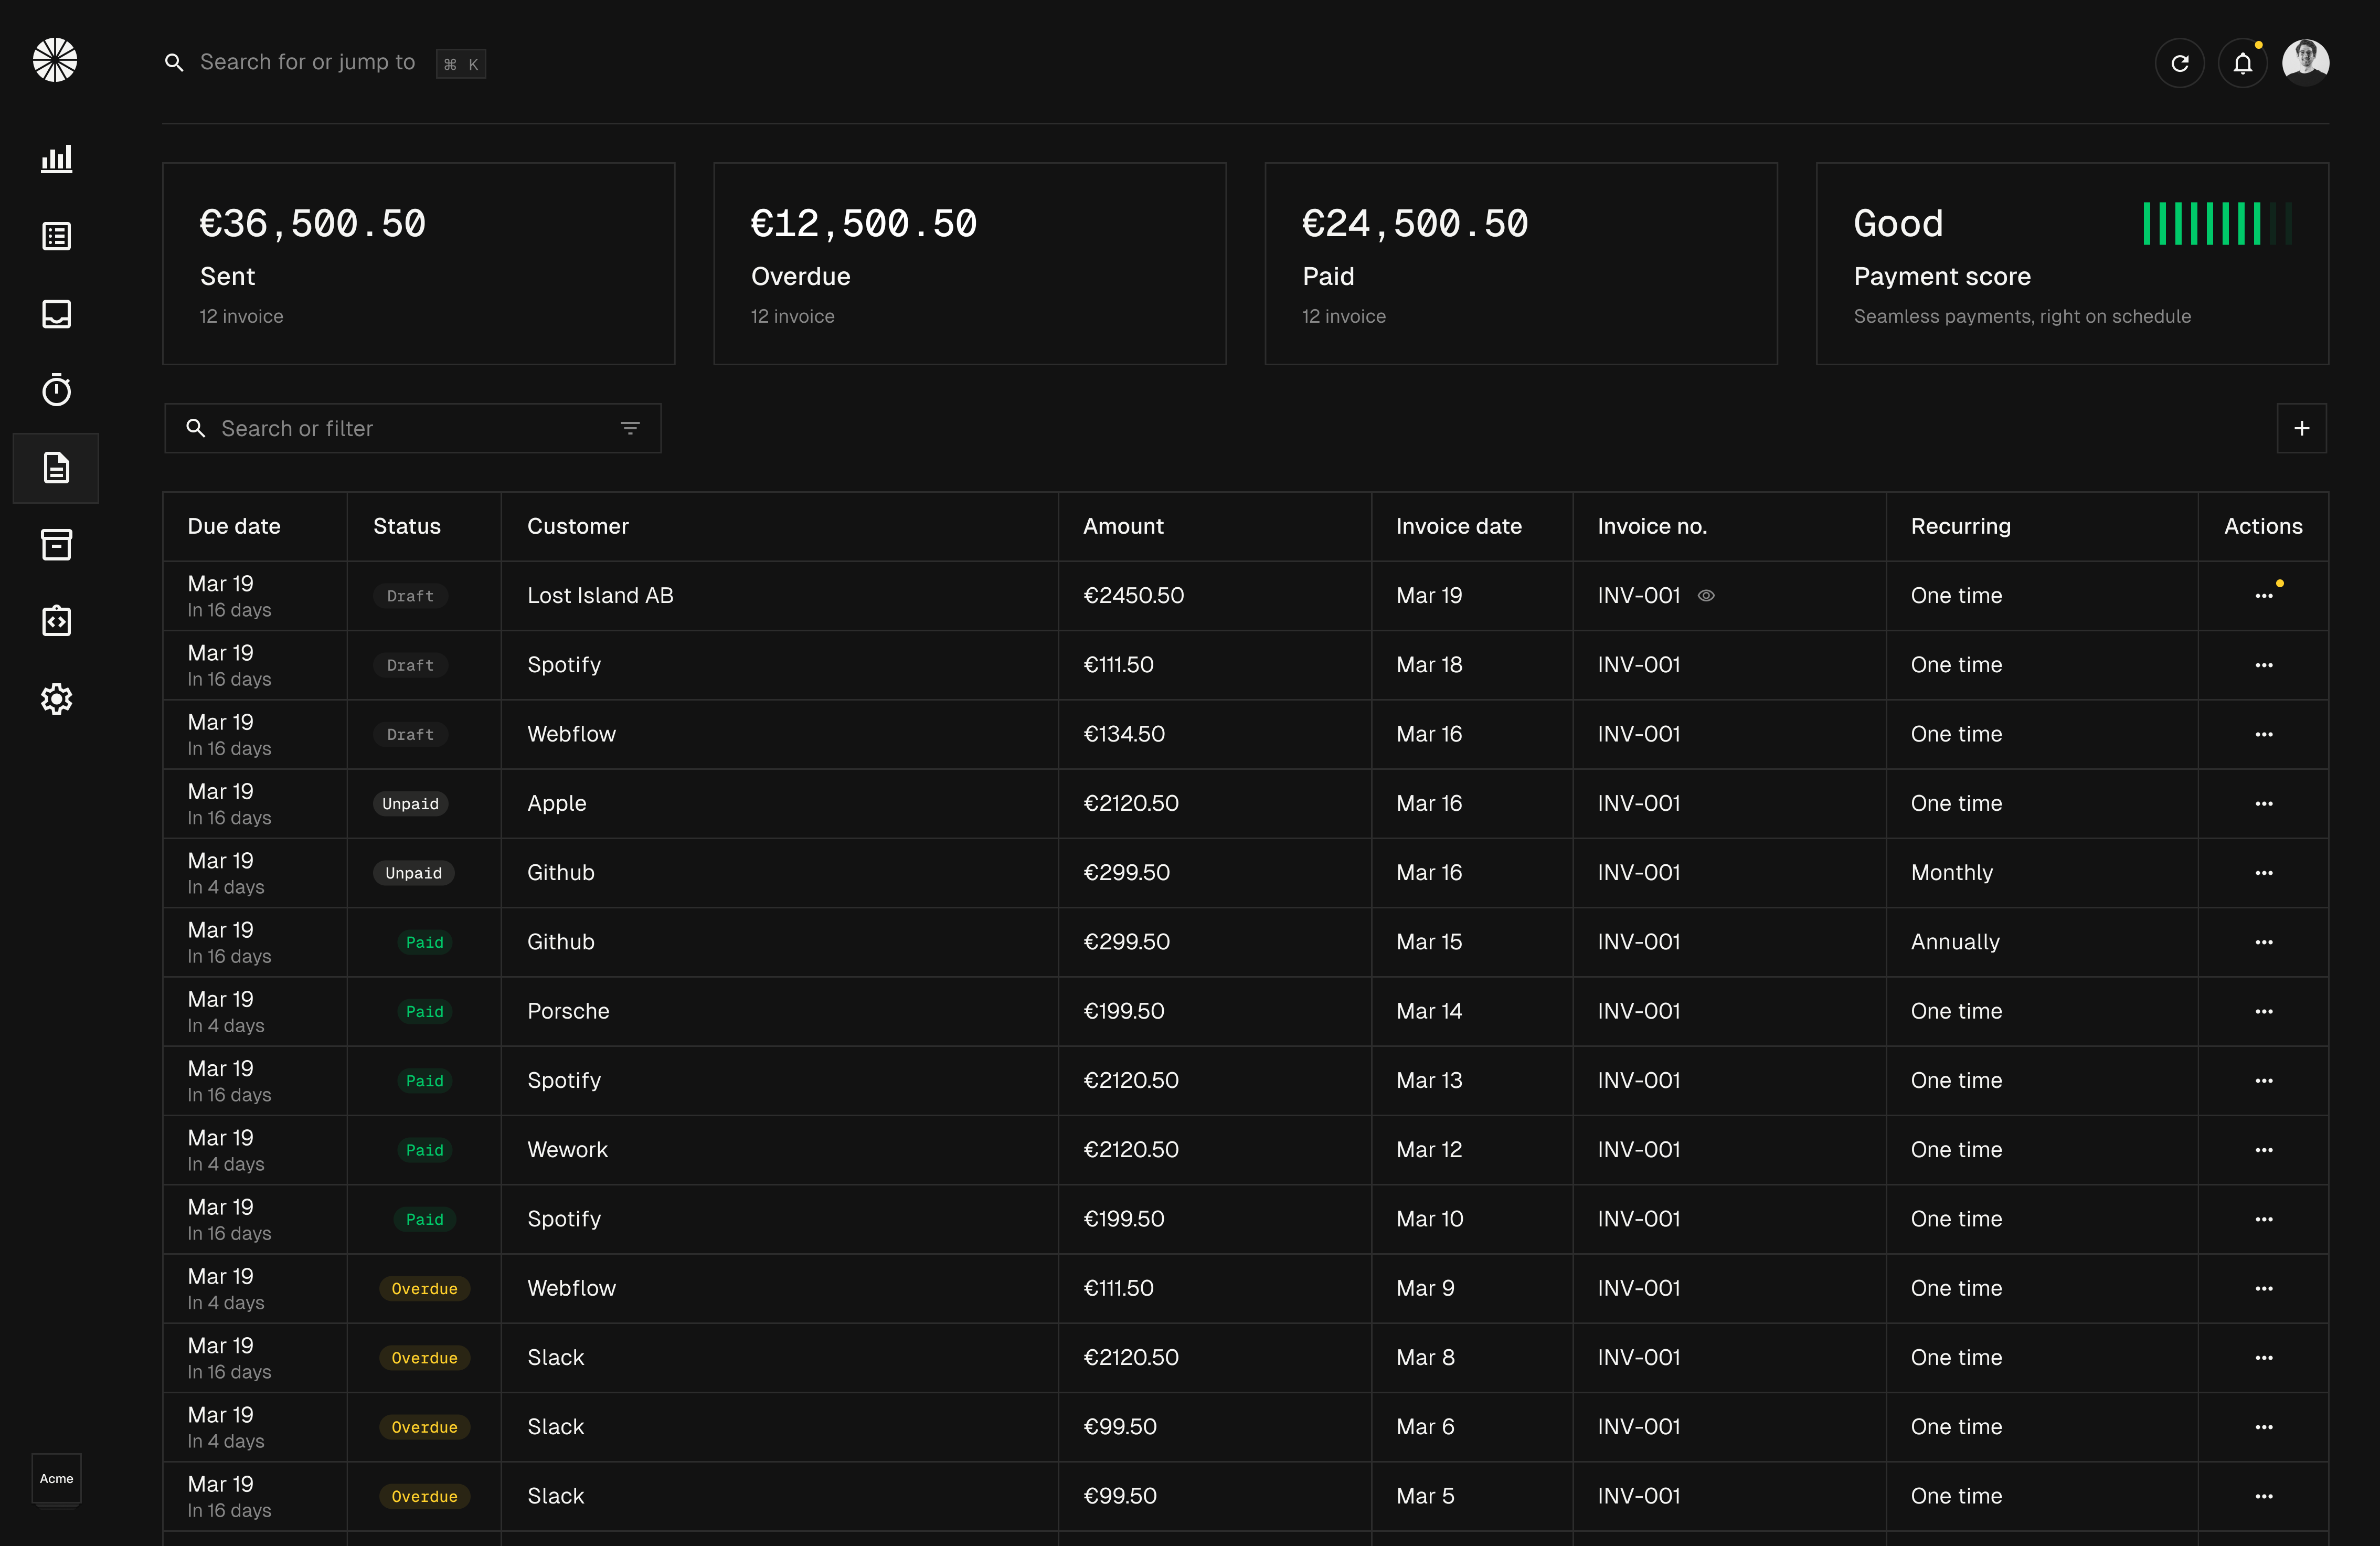
We are building a new experience for invoices in Midday. You'll be able to create and send invoices to your customers, as well as generate PDFs for each invoice.


Our interface is highly customizable with a visual editor where you can easily change the layout, add your logo, and tailor the text to your preferences.


We use an editor based on Tiptap to support rich text, with AI-powered grammar checking and text improvement available at the click of a button.


While the editor saves the content using JSON, we also needed to ensure compatibility with our PDF generation process.


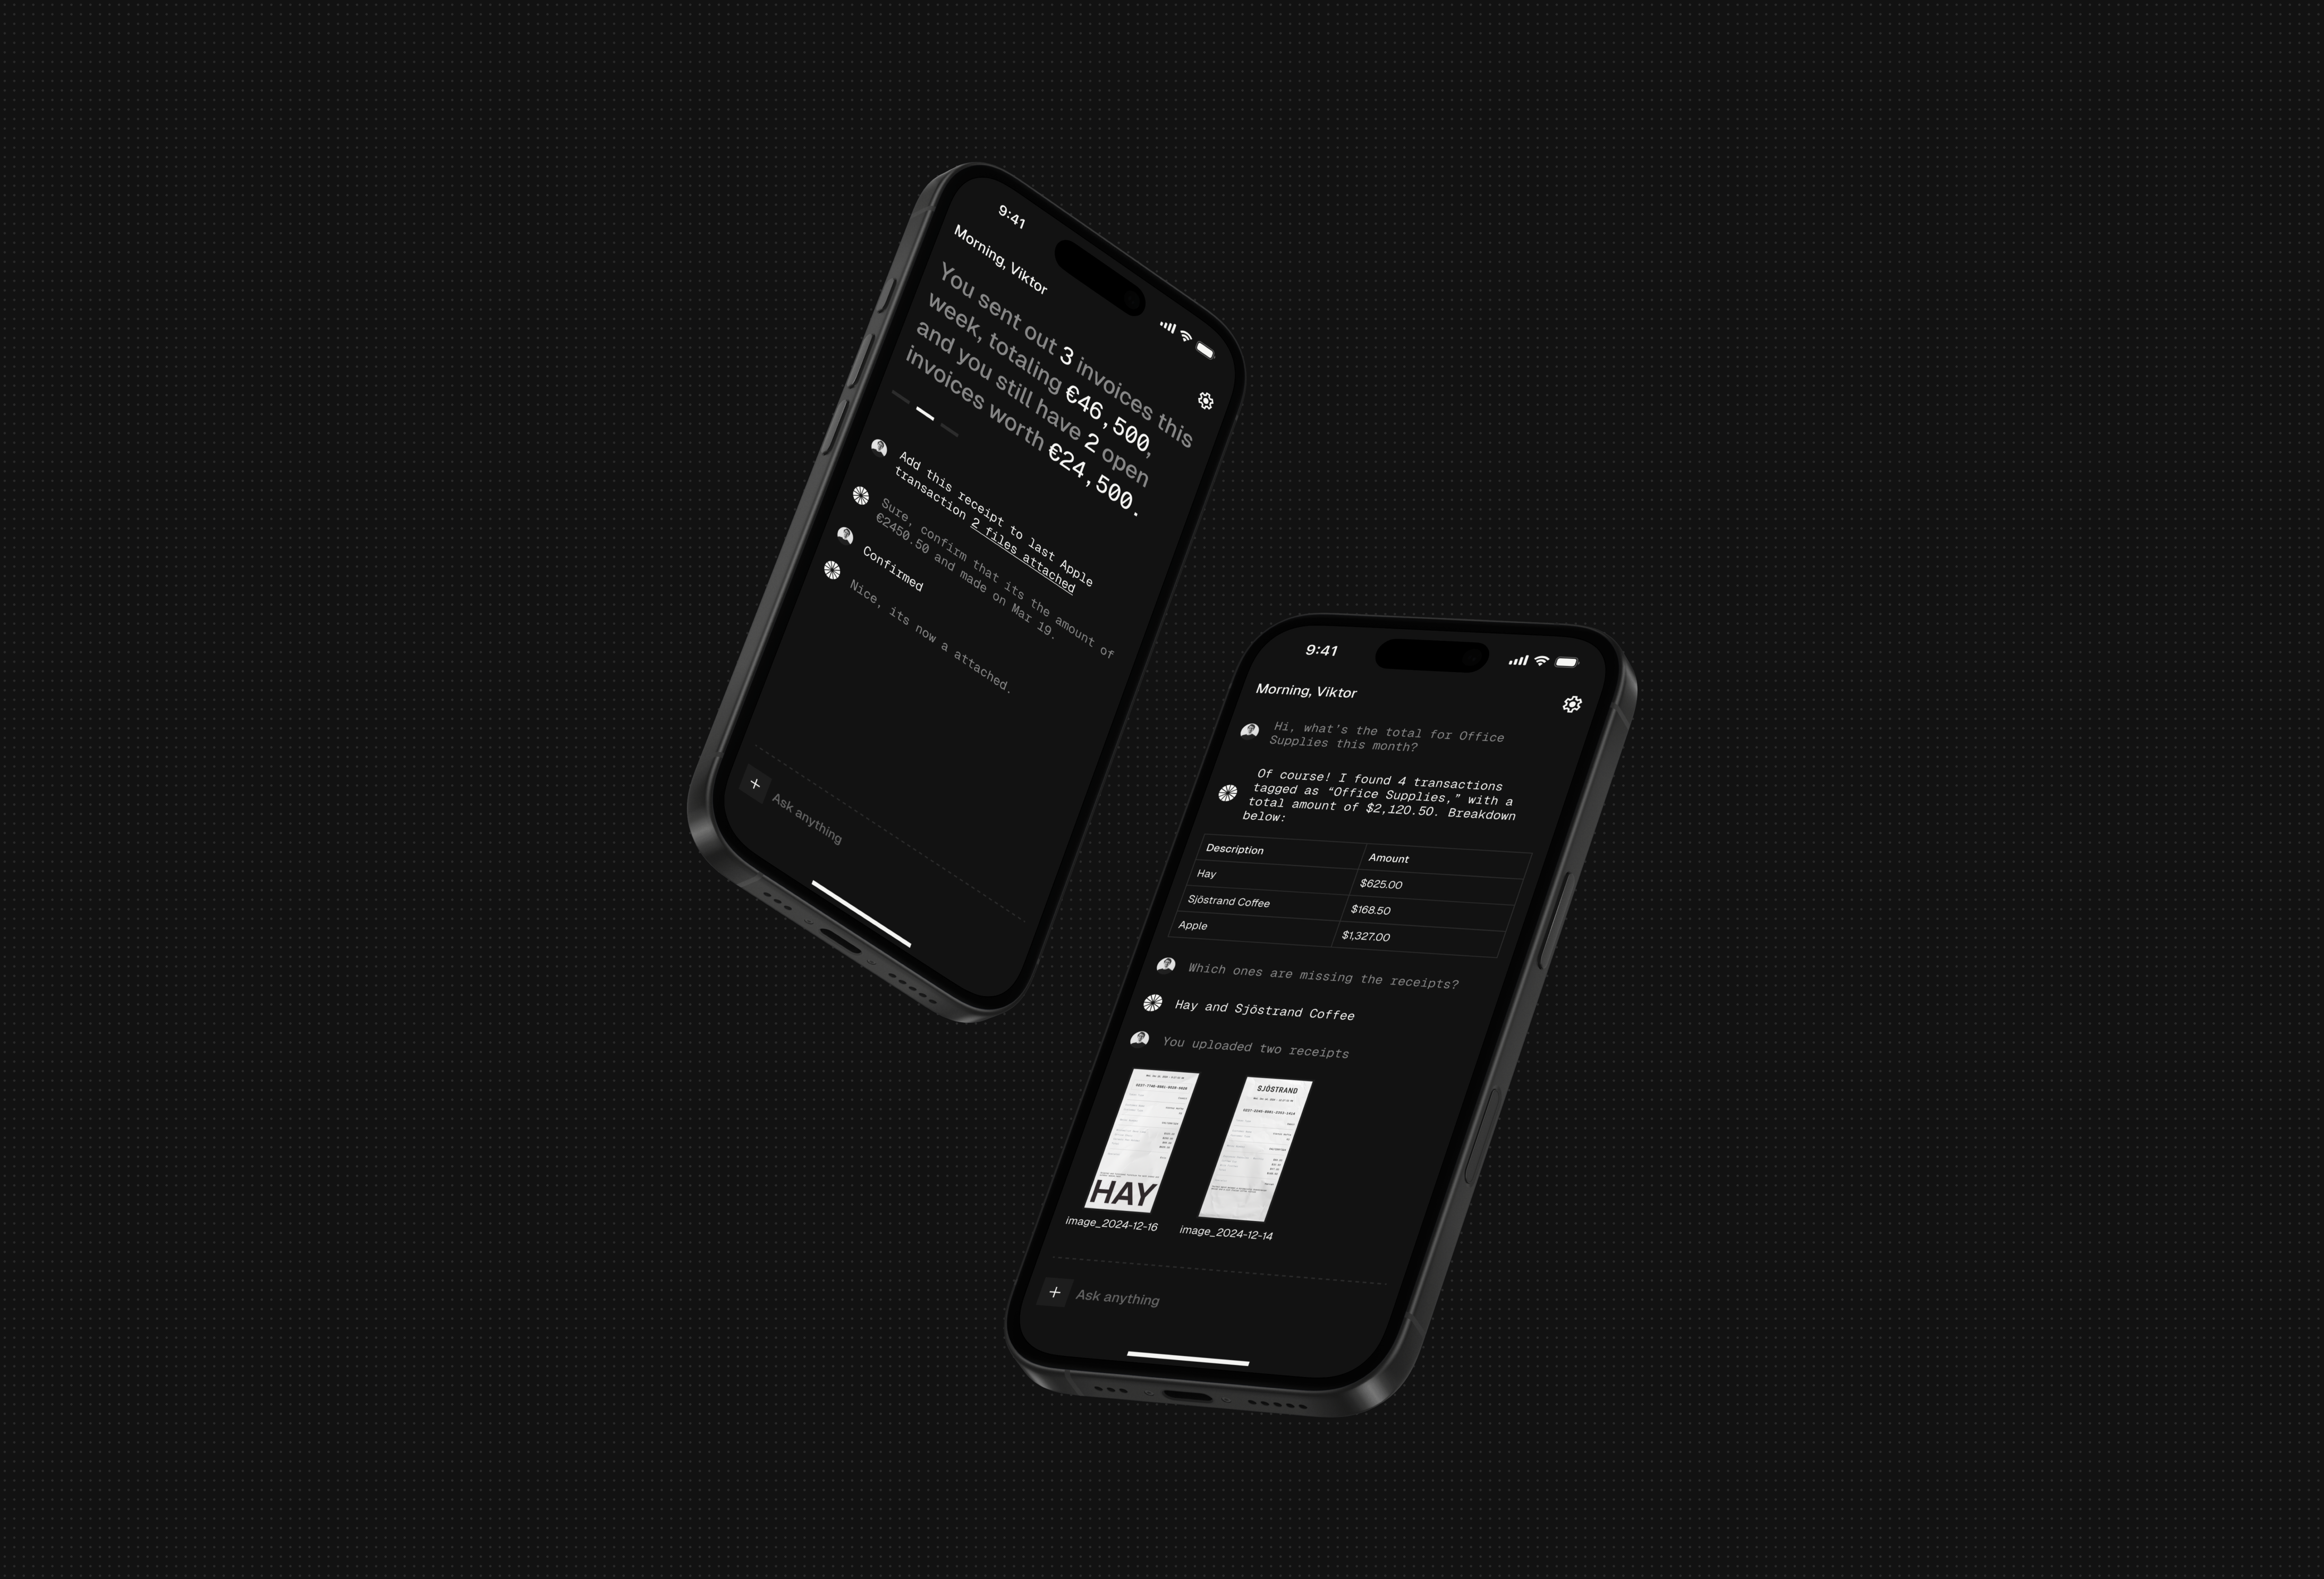
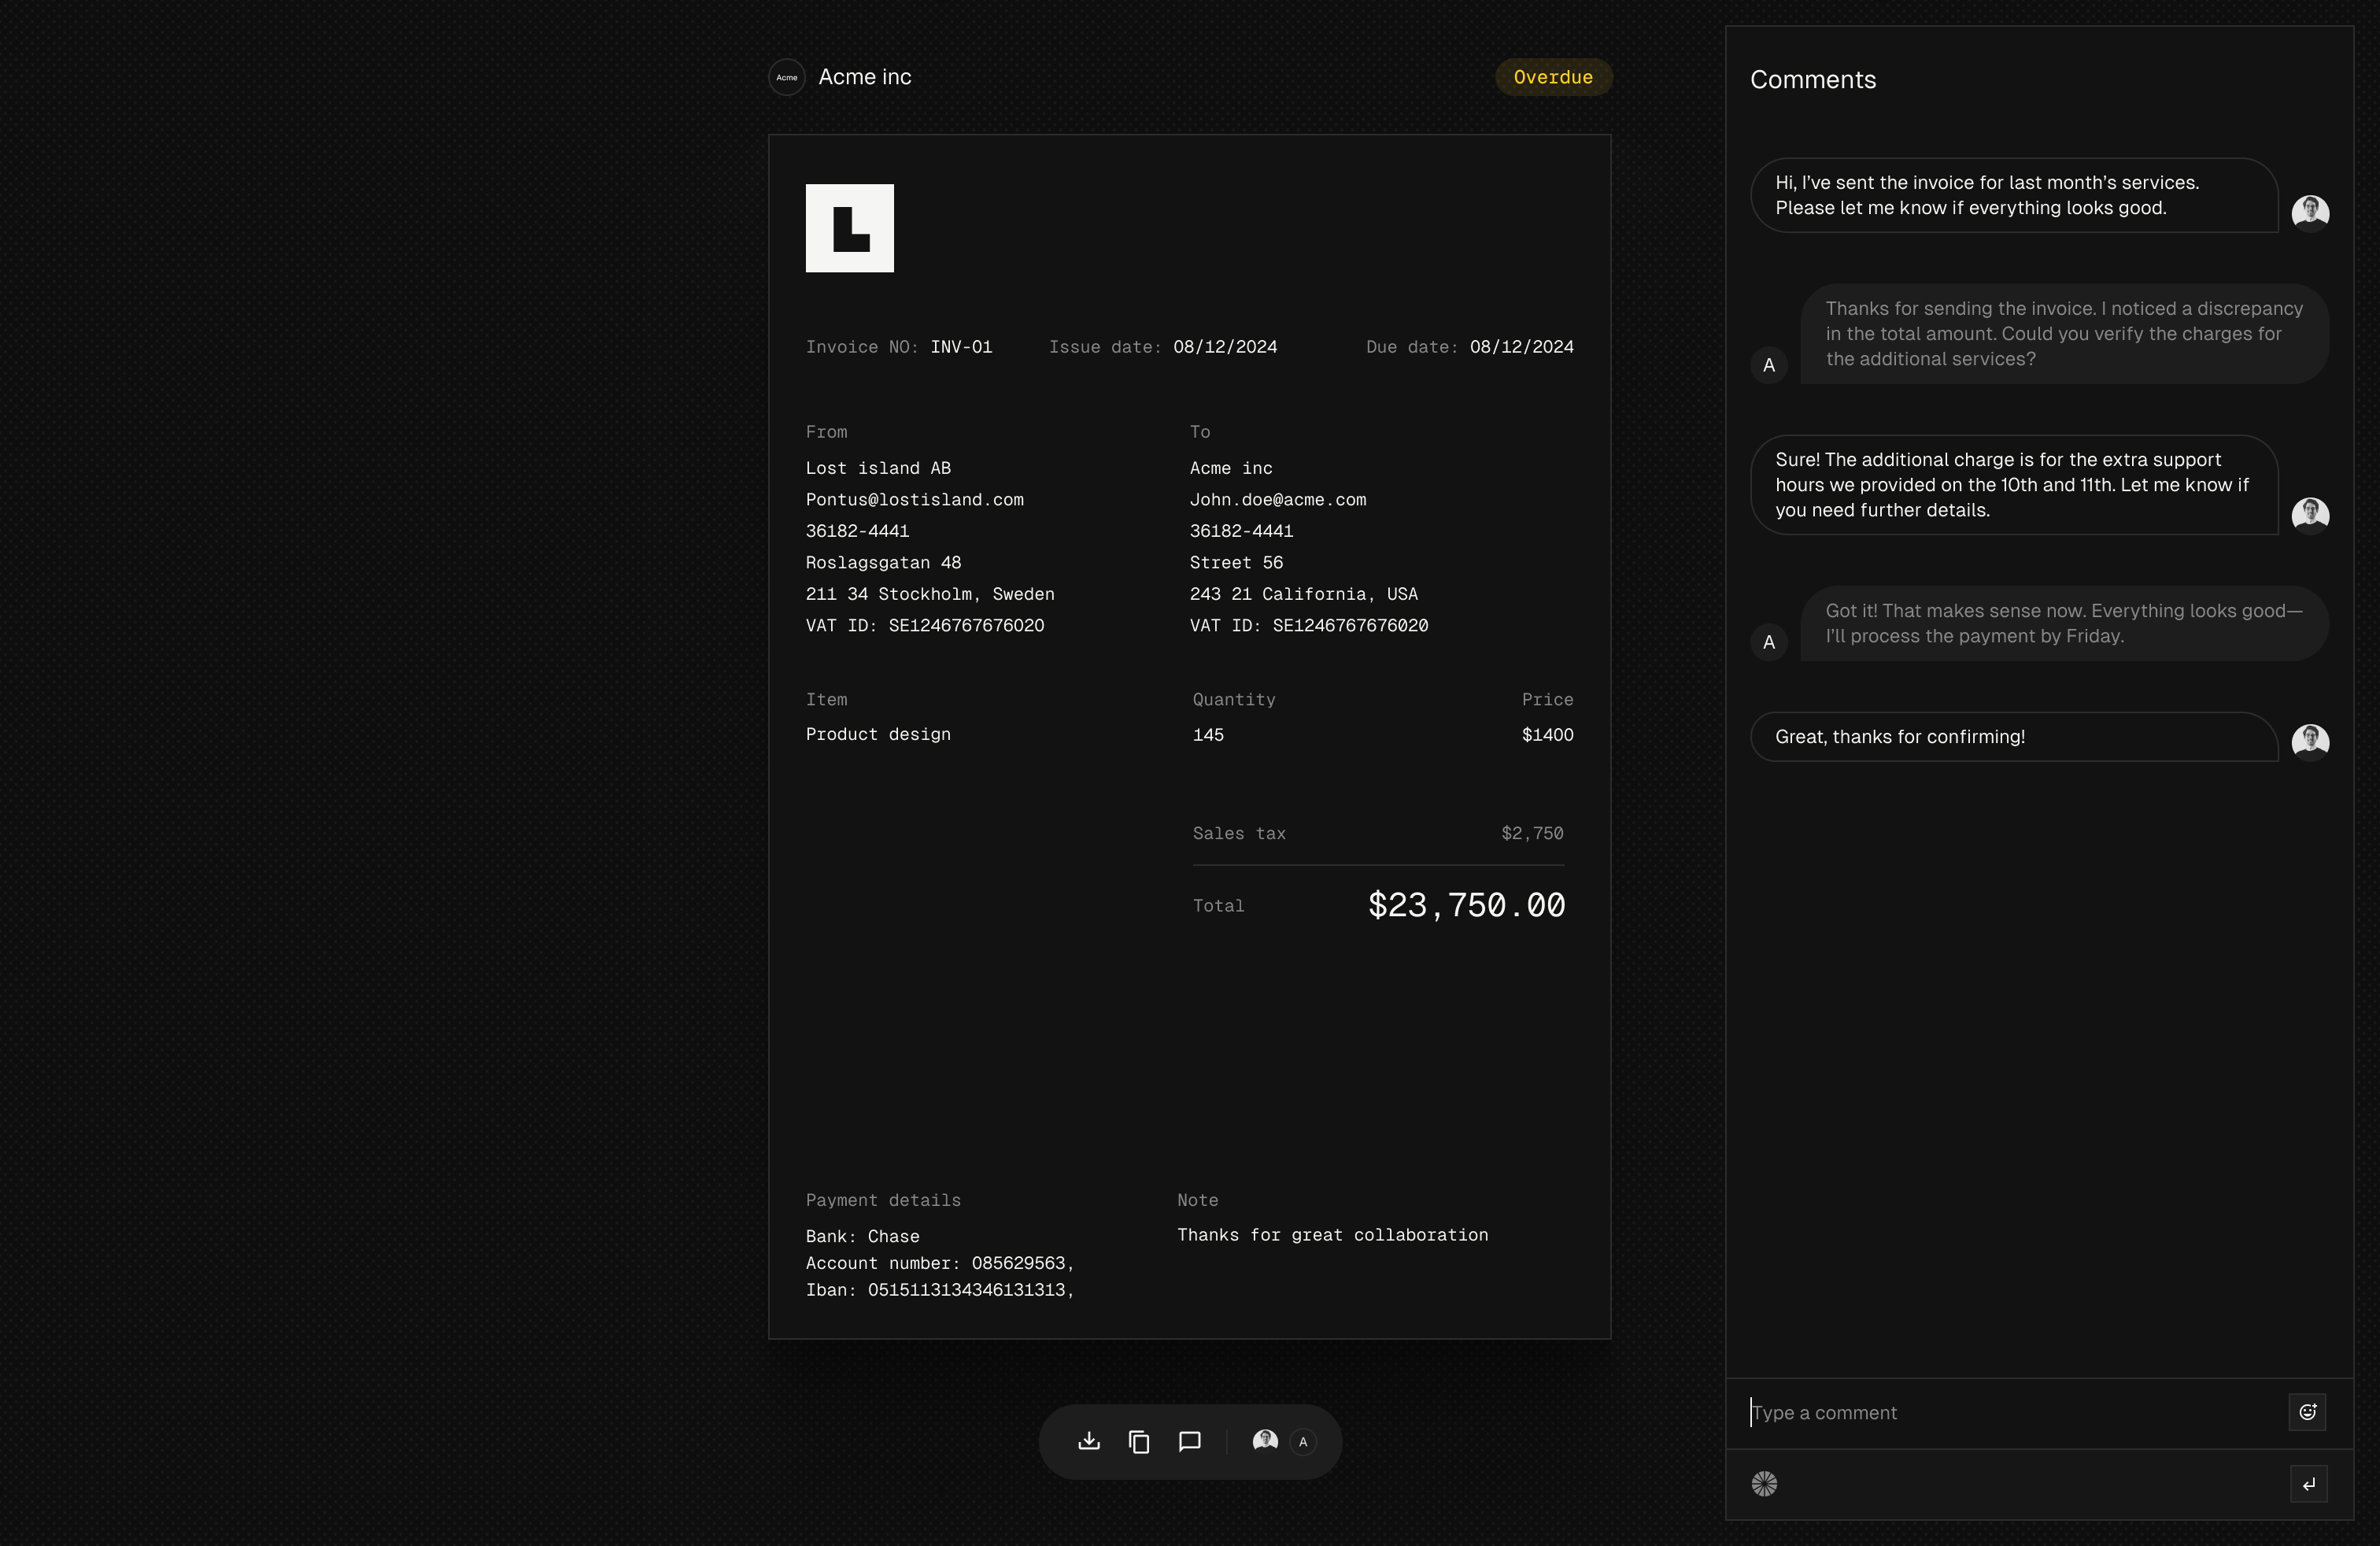
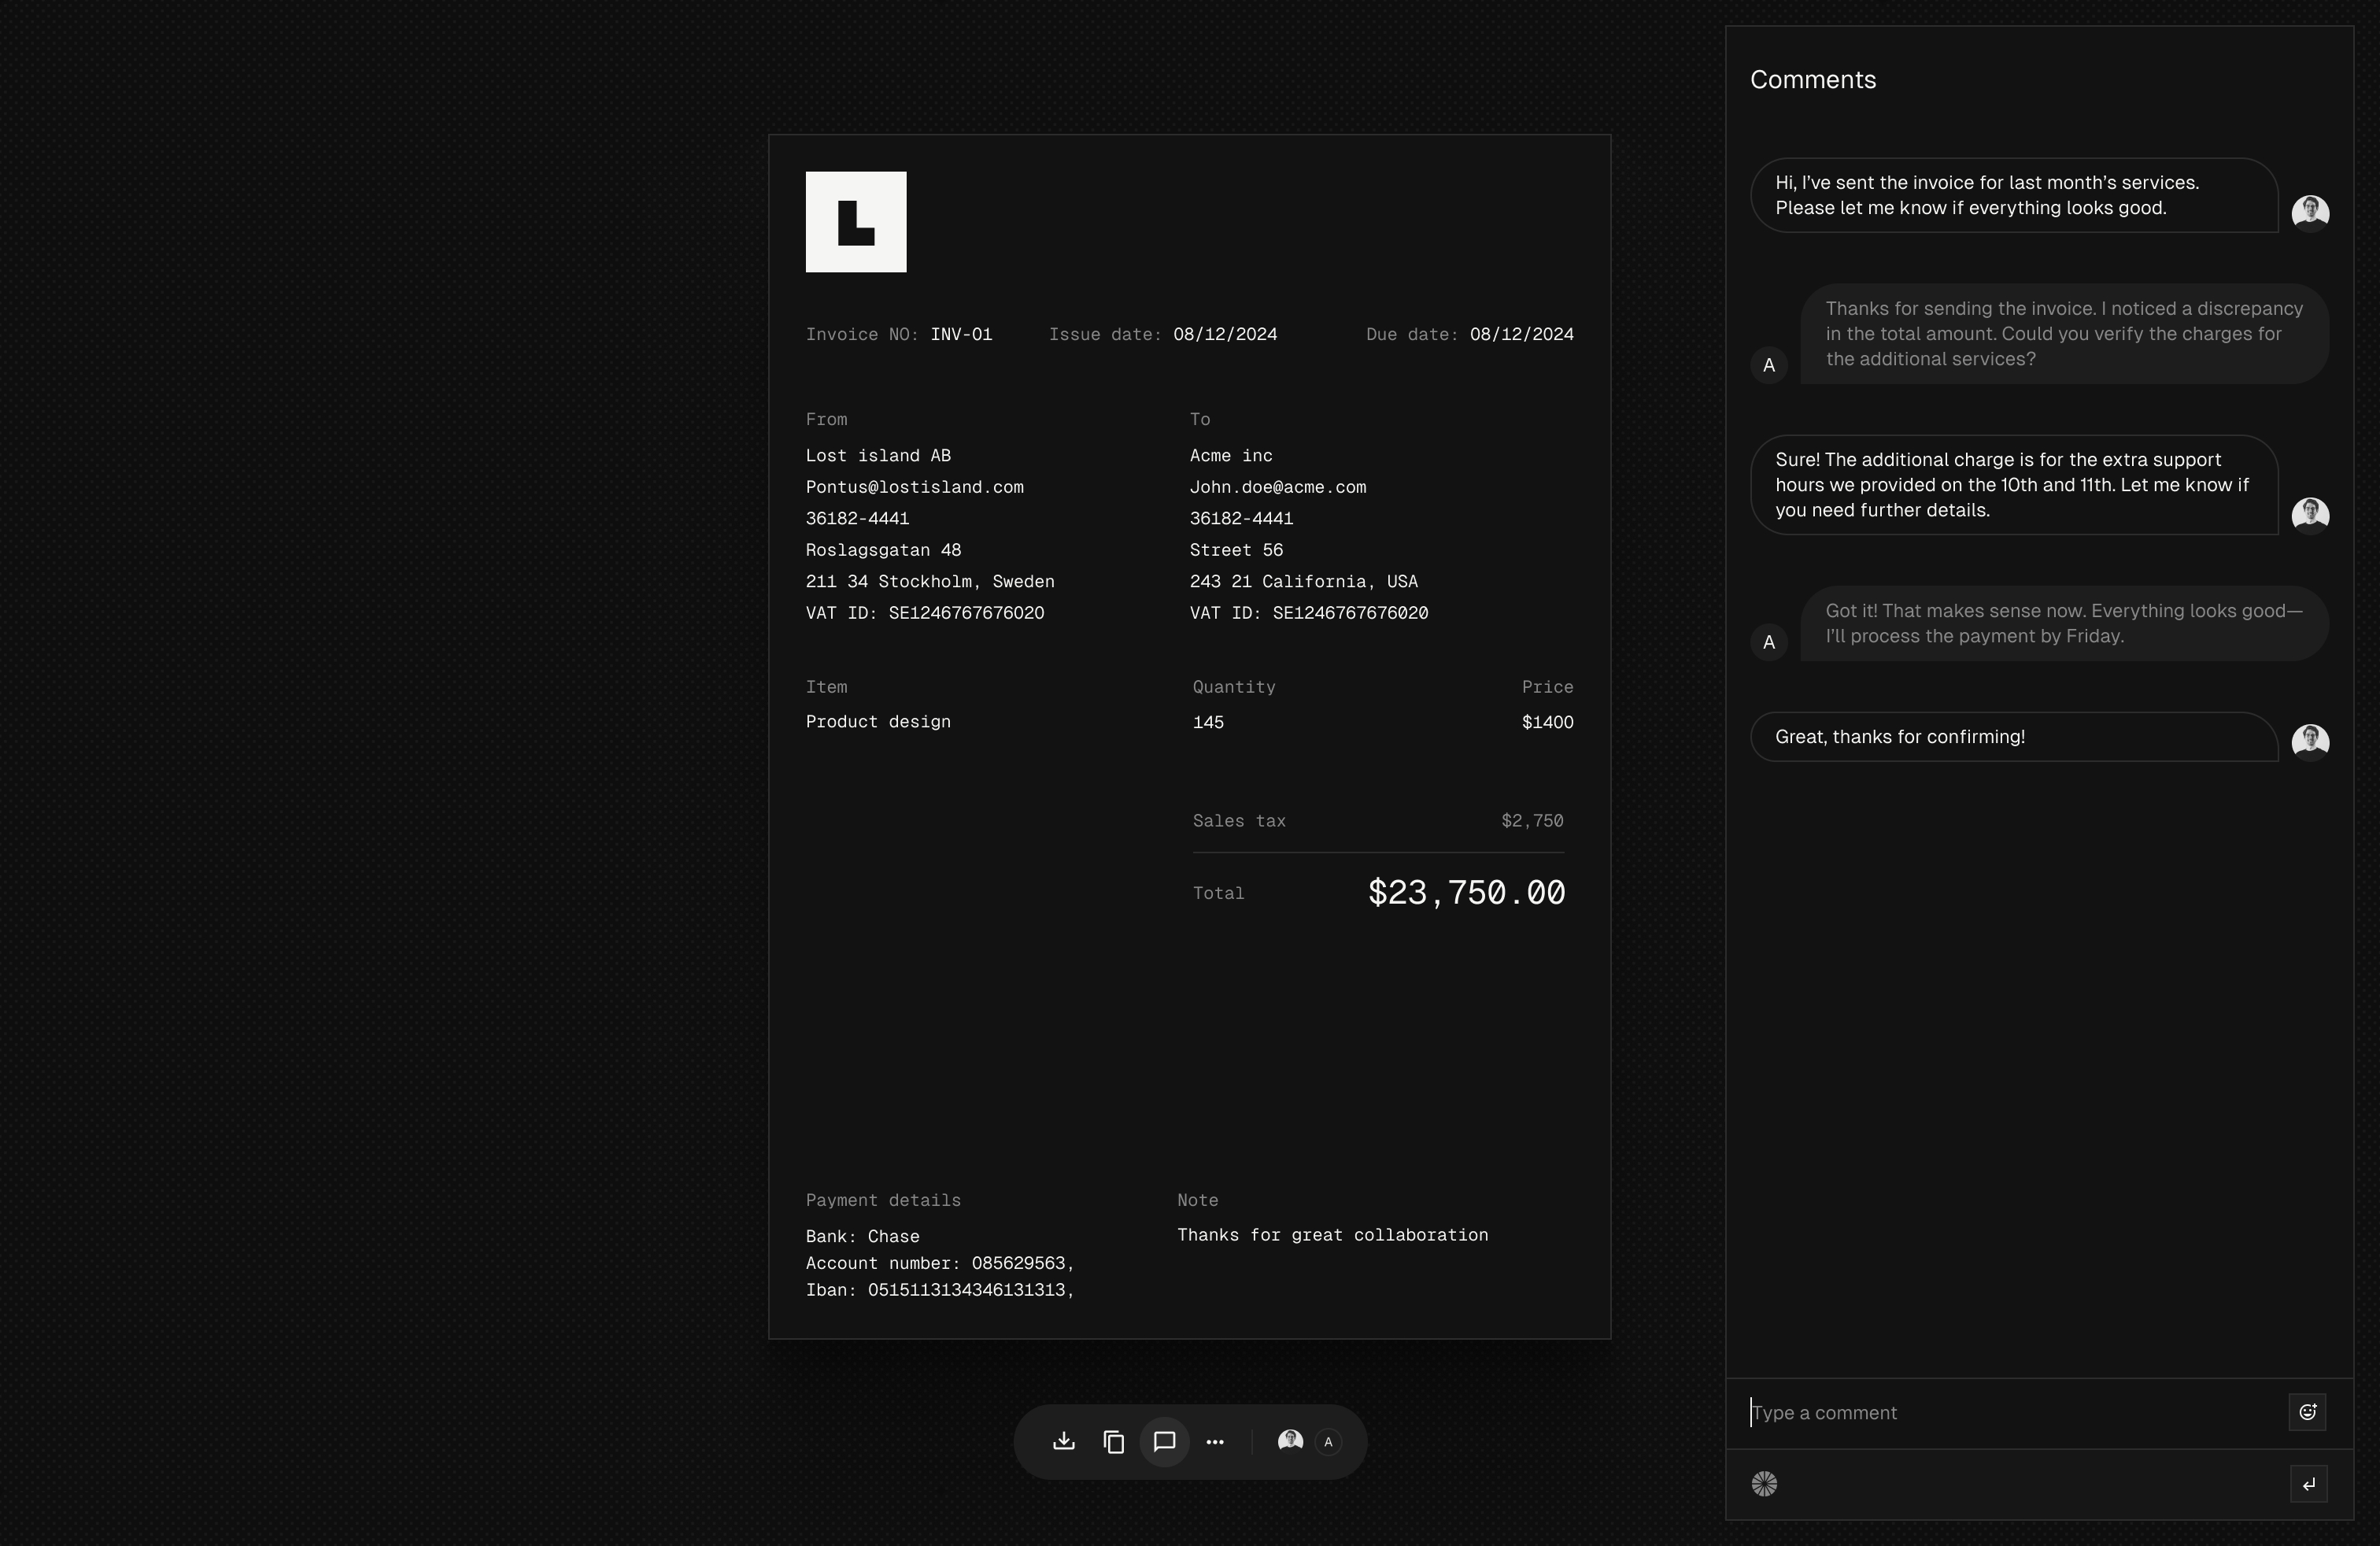
When you send an invoice to a customer, they will receive an email with a unique link to the invoice. Clicking this link will render the invoice on a web page where you and the customer can communicate in real-time using our chat interface.


You'll also be able to track when the customer has viewed the invoice and if they have any questions about it.


PDF Generation

PDF Invoices


There are numerous ways to generate PDFs, and we've explored many different solutions. While we considered paid services, we ultimately decided to prioritize giving you full control over the invoices without relying on external services.


We went with react-pdf to generate the PDFs. This is a great library that allows us to generate PDFs using React. We can easily customize the layout and add our own styles to the documents and it feels just like react-email concept where we use react to generate our templates.


The invoice is then generated and saved to your Vault, so we can match it to incoming transactions and mark it as paid.


We first create an API endpoint that will generate the PDF and return the PDF as Content Type application/pdf.

import { InvoiceTemplate, renderToStream } from "@midday/invoice";
import { getInvoiceQuery } from "@midday/supabase/queries";
import { createClient } from "@midday/supabase/server";
import type { NextRequest } from "next/server";

export async function GET(req: NextRequest) {
  const supabase = createClient();
  const requestUrl = new URL(req.url);
  const id = requestUrl.searchParams.get("id");
  const size = requestUrl.searchParams.get("size") as "letter" | "a4";
  const preview = requestUrl.searchParams.get("preview") === "true";

  if (!id) {
    return new Response("No invoice id provided", { status: 400 });
  }

  const { data } = await getInvoiceQuery(supabase, id);

  if (!data) {
    return new Response("Invoice not found", { status: 404 });
  }

  const stream = await renderToStream(await InvoiceTemplate({ ...data, size }));

  const blob = await new Response(stream).blob();

  const headers: Record<string, string> = {
    "Content-Type": "application/pdf",
    "Cache-Control": "no-store, max-age=0",
  };

  if (!preview) {
    headers["Content-Disposition"] =
      `attachment; filename="${data.invoice_number}.pdf"`;
  }

  return new Response(blob, { headers });
}

With this approach we can also add ?preview=true to the URL to generate the PDF in the browser without downloading it. This is useful for previewing the invoice before generating the PDF.

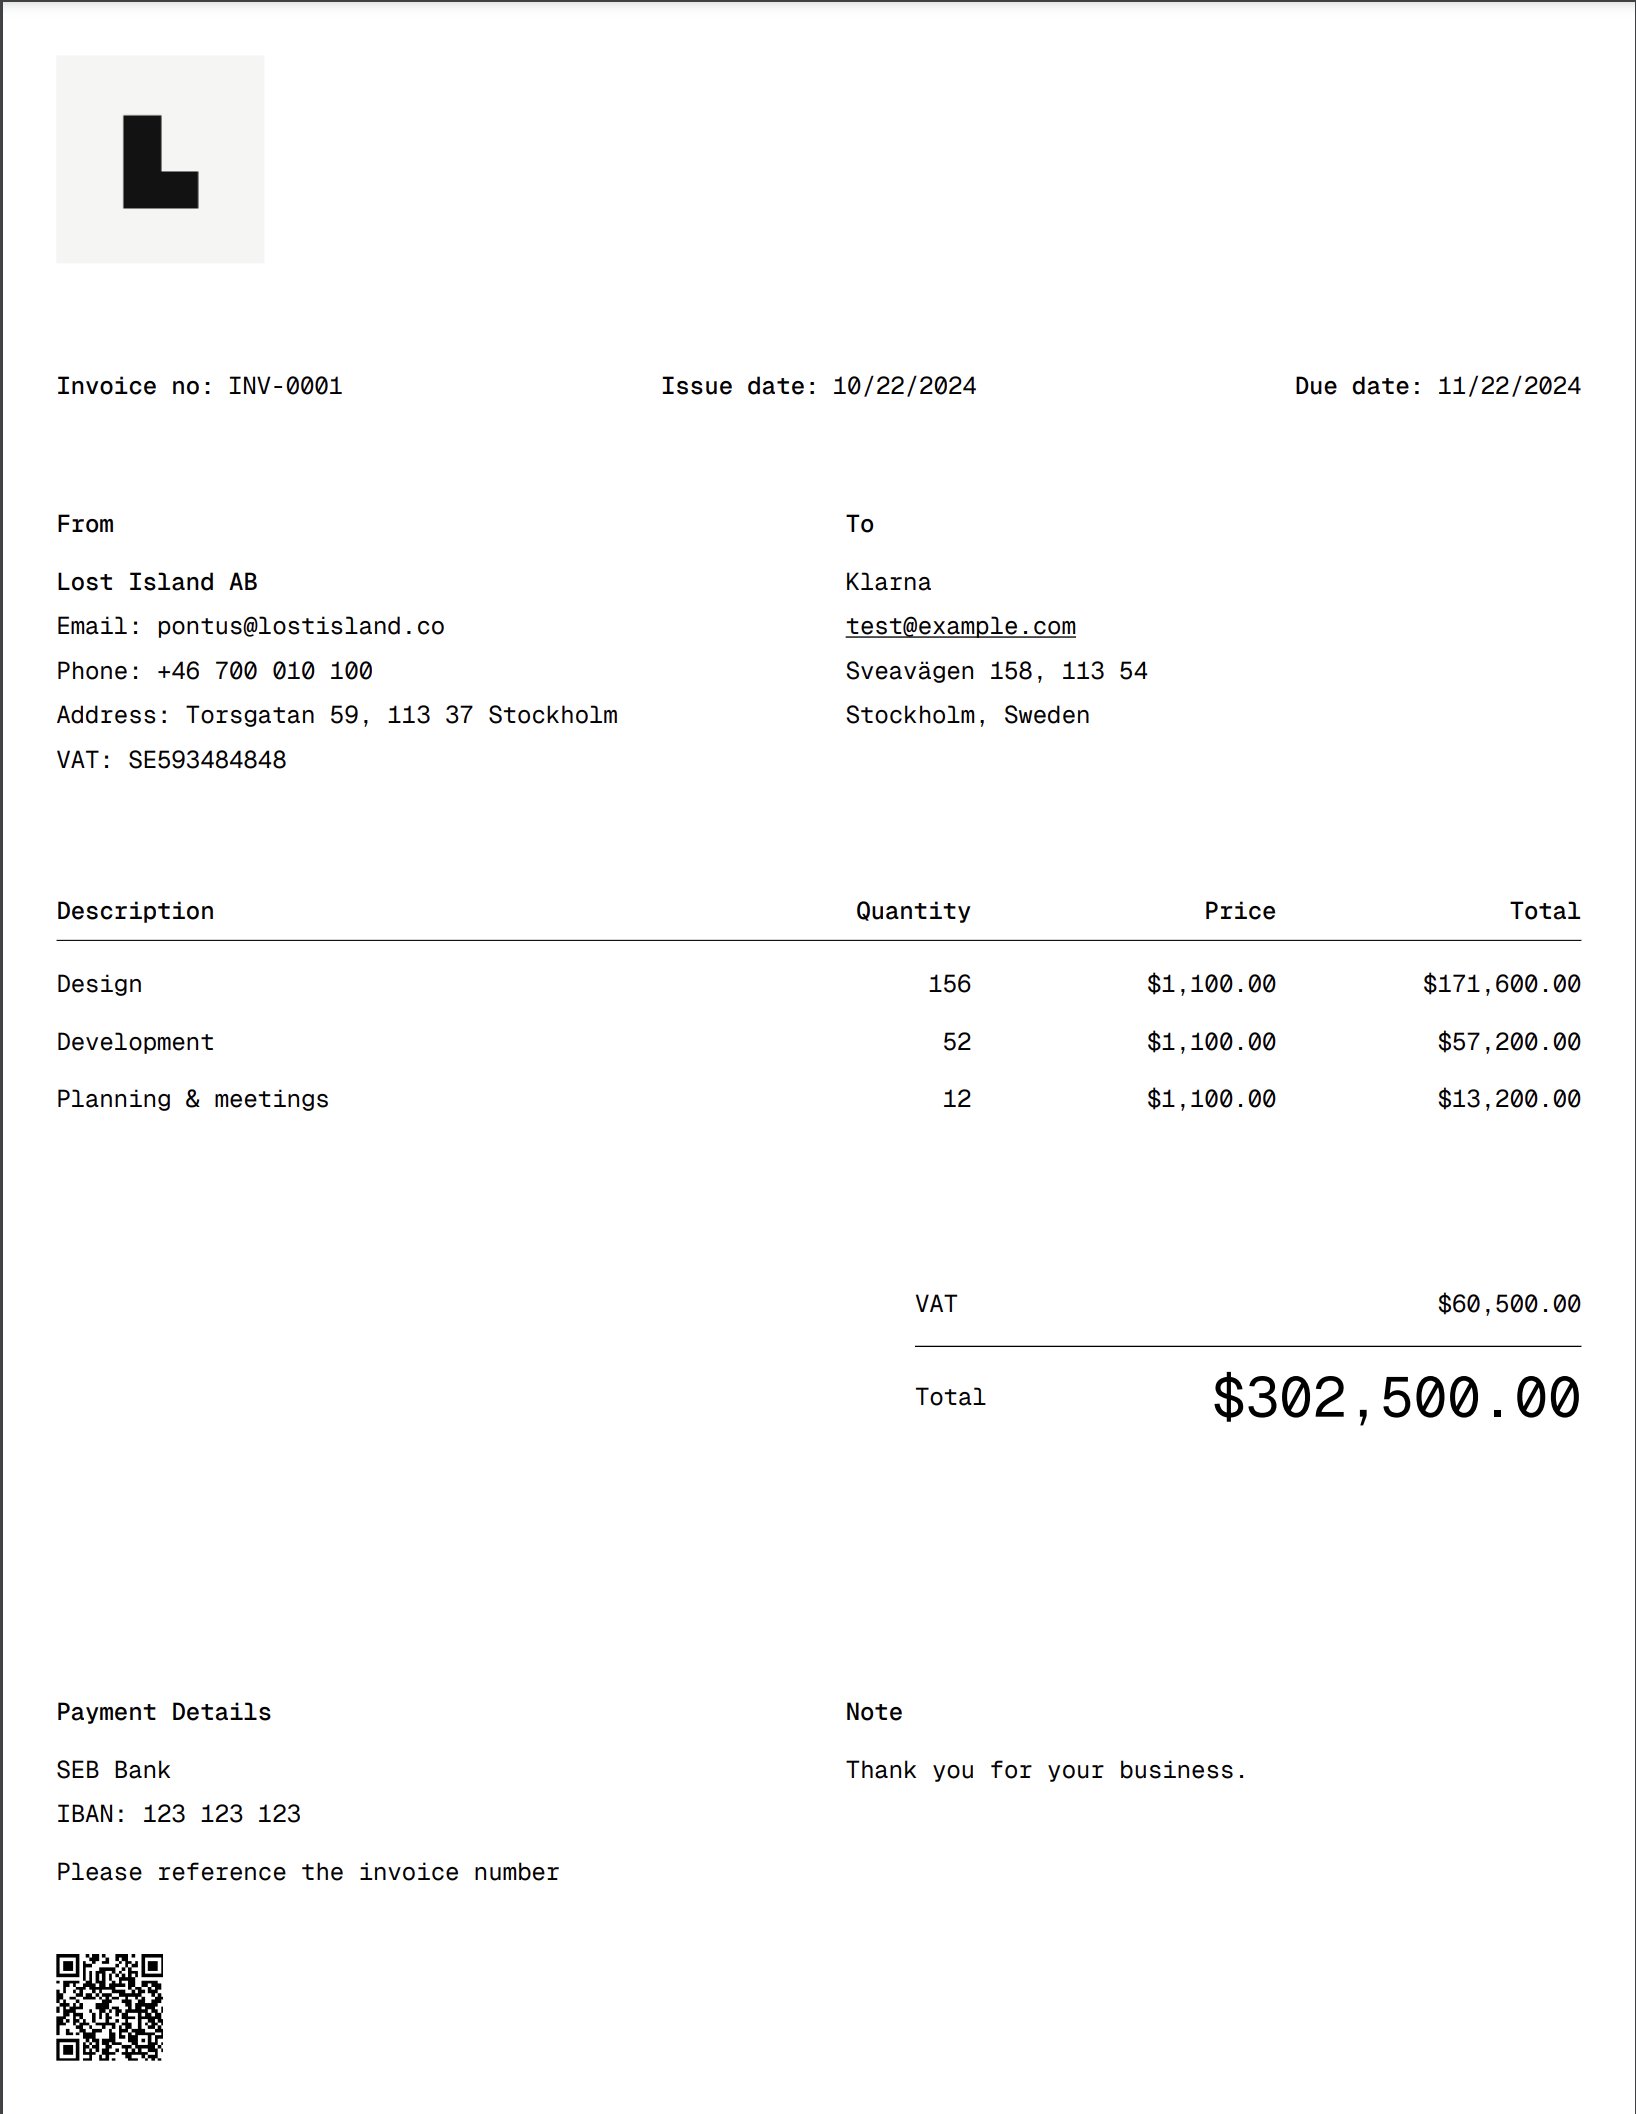
React PDF Invoice Template

And here is the template for the invoice, we register a custom font, generate a QR code and making sections and formatting the invoice.


You can find the full code for the invoice template here.

import { Document, Font, Image, Page, Text, View } from "@react-pdf/renderer";
import QRCodeUtil from "qrcode";
import { EditorContent } from "../components/editor-content";
import { LineItems } from "../components/line-items";
import { Meta } from "../components/meta";
import { Note } from "../components/note";
import { PaymentDetails } from "../components/payment-details";
import { QRCode } from "../components/qr-code";
import { Summary } from "../components/summary";

const CDN_URL = "https://cdn.midday.ai";

Font.register({
  family: "GeistMono",
  fonts: [
    {
      src: `${CDN_URL}/fonts/GeistMono/ttf/GeistMono-Regular.ttf`,
      fontWeight: 400,
    },
    {
      src: `${CDN_URL}/fonts/GeistMono/ttf/GeistMono-Medium.ttf`,
      fontWeight: 500,
    },
  ],
});

export async function InvoiceTemplate({
  invoice_number,
  issue_date,
  due_date,
  template,
  line_items,
  customer_details,
  from_details,
  payment_details,
  note_details,
  currency,
  vat,
  tax,
  amount,
  size = "letter",
  link,
}: Props) {
  const qrCode = await QRCodeUtil.toDataURL(
    link,
    {
      width: 40 * 3,
      height: 40 * 3,
      margin: 0,
    },
  );

  return (
    <Document>
      <Page
        size={size.toUpperCase() as "LETTER" | "A4"}
        style={{
          padding: 20,
          backgroundColor: "#fff",
          fontFamily: "GeistMono",
          color: "#000",
        }}
      >
        <View style={{ marginBottom: 20 }}>
          {template?.logo_url && (
            <Image
              src={template.logo_url}
              style={{
                width: 78,
                height: 78,
              }}
            />
          )}
        </View>

        <Meta
          invoiceNoLabel={template.invoice_no_label}
          issueDateLabel={template.issue_date_label}
          dueDateLabel={template.due_date_label}
          invoiceNo={invoice_number}
          issueDate={issue_date}
          dueDate={due_date}
        />

        <View style={{ flexDirection: "row" }}>
          <View style={{ flex: 1, marginRight: 10 }}>
            <View style={{ marginBottom: 20 }}>
              <Text style={{ fontSize: 9, fontWeight: 500 }}>
                {template.from_label}
              </Text>
              <EditorContent content={from_details} />
            </View>
          </View>

          <View style={{ flex: 1, marginLeft: 10 }}>
            <View style={{ marginBottom: 20 }}>
              <Text style={{ fontSize: 9, fontWeight: 500 }}>
                {template.customer_label}
              </Text>
              <EditorContent content={customer_details} />
            </View>
          </View>
        </View>

        <LineItems
          lineItems={line_items}
          currency={currency}
          descriptionLabel={template.description_label}
          quantityLabel={template.quantity_label}
          priceLabel={template.price_label}
          totalLabel={template.total_label}
        />

        <Summary
          amount={amount}
          tax={tax}
          vat={vat}
          currency={currency}
          totalLabel={template.total_label}
          taxLabel={template.tax_label}
          vatLabel={template.vat_label}
        />

        <View
          style={{
            flex: 1,
            flexDirection: "column",
            justifyContent: "flex-end",
          }}
        >
          <View style={{ flexDirection: "row" }}>
            <View style={{ flex: 1, marginRight: 10 }}>
              <PaymentDetails
                content={payment_details}
                paymentLabel={template.payment_label}
              />

              <QRCode data={qrCode} />
            </View>

            <View style={{ flex: 1, marginLeft: 10 }}>
              <Note content={note_details} noteLabel={template.note_label} />
            </View>
          </View>
        </View>
      </Page>
    </Document>
  );
}

What's next?

PDF Invoices


We will be launching the Invoicing feature soon to our early access users, let us know if you want to be included in the early access program to get all the new features as soon as they are ready.


We would love to hear what you think about the Invoicing feature, and we would love to hear from you if you have any ideas or feedback for the feature.


Sign up for an account and start using Midday today.

Updates

Introducing Apps

Introducing Apps

We are excited to announce the launch of Apps in Midday. You can now easily connect your favorite tools to streamline your workflow. Starting with Slack, we will continue to expand to other tools that you love.


Install Apps

Apps overview


There is a new Apps menu in the sidebar. Here you can find all the apps available to you.

To install an app, you can either click the "Install" button, or click the "Details" button to learn more about the app.


App Details

App details


You can read more about the specific app in the details page, in this example we are looking at the Slack app that will enable you to connect your Slack workspace to Midday and get notifications about new transactions and give you Midday Assistant right in your Slack workspace.


Slack Assistant

Slack Assistant


In the example above we are using the Slack Assistant to send a message to the channel. You can use the Slack Assistant to know your burn rate, track your expenses, and get insights about your transactions.

You can also upload receipts and invoices to Midday right from Slack and we will extract the data and match it to your transactions.


While this is just the beginning, we are excited to bring more apps to you.


Sign up for an account and start using Midday today.

Updates

Building the Midday Slack Assistant

Building the Midday Slack Assistant

In this technical deep dive, we’ll explore how we built the Midday Slack Assistant by leveraging the Vercel AI SDK, Trigger.dev, and Supabase. Our goal was to create an AI-powered assistant that helps users gain financial insights, upload receipts, and manage invoices—all seamlessly from within their Slack workspace.

Background

Midday already has an assistant available on both web and desktop via Electron, but we haven’t yet built a dedicated mobile app. As we continue iterating on our web app, we plan to eventually create a mobile version using Expo. In the meantime, we wanted to give our users a way to interact with Midday on the go. With that in mind, we turned to Slack, where users can quickly upload receipts and invoices without leaving the app they’re already using for work.


Goals

We aimed to enable our users to:

  • Upload receipts and invoices, and match them to transactions.
  • Query their financial status (e.g., burn rate, cash flow).
  • Receive notifications about transactions.

Slack Assistant

Slack recently introduced a new messaging experience for app agents and assistants, making them more discoverable and accessible in user workflows. This update allows developers to build AI assistants based on their own APIs, seamlessly integrated into the Slack interface.


When users install our Slack app from the Apps section within Midday, we obtain the necessary permissions to interact with the Slack API, send messages, and listen to events.


Authentication

To connect the Slack app to a user’s workspace, we utilize Slack’s OAuth flow to retrieve an access token with the required scopes. These scopes include:

  • assistant_thread_context_changed: Detects changes in the assistant thread context.
  • assistant_thread_started: Tracks when an assistant thread starts.
  • file_created: Monitors file uploads.
  • message.channel: Captures messages posted in public channels.
  • message.im: Captures direct messages.

Once authenticated, we store this data in our apps table along with the team ID and access token, structured as a JSONB column for flexibility.


Event Subscriptions

Here’s where the magic happens: We use a Next.js route to handle incoming Slack events and route them to our internal handler. This handler checks the event payload to determine the appropriate action. If it detects a file upload, it triggers a background job via Trigger.dev. If it’s a message, we forward it to our Assistant logic.


File Upload Handling

When a file upload event occurs, we send the file to a background job and save it in our Supabase database. Using OCR, we extract key details such as amount, currency, date, and merchant from the receipt. Then, we attempt to match the data with existing transactions in our system using Azure Document Intelligence Models.


Here’s a quick demo of how the file upload works in Slack:


Slack Assistant Features

When you open the Slack Assistant, you’re greeted with a welcome message and a set of suggested actions. This welcome message is triggered by the assistant_thread_started event and looks like this:

import type { AssistantThreadStartedEvent, WebClient } from "@slack/web-api";

export async function assistantThreadStarted(
  event: AssistantThreadStartedEvent,
  client: WebClient,
) {
  const prompts = [
    { title: "What’s my runway?", message: "What's my runway?" },
    // Additional prompts...
  ];

  try {
    await client.chat.postMessage({
      channel: event.assistant_thread.channel_id,
      thread_ts: event.assistant_thread.thread_ts,
      text: "Welcome! I'm your financial assistant. Here are some suggestions:",
    });

    await client.assistant.threads.setSuggestedPrompts({
      channel_id: event.assistant_thread.channel_id,
      thread_ts: event.assistant_thread.thread_ts,
      prompts: prompts.sort(() => 0.5 - Math.random()).slice(0, 4),
    });
  } catch (error) {
    console.error("Error in assistant thread:", error);
    await client.assistant.threads.setStatus({
      channel_id: event.assistant_thread.channel_id,
      thread_ts: event.assistant_thread.thread_ts,
      status: "Something went wrong",
    });
  }
}

When the user selects one of the suggested prompts, we trigger the assistant_thread_message event. Based on the message, we then use the appropriate tool with the Vercel AI SDK.


To generate the response, we use the generateText function with the OpenAI model. This approach makes it easy to switch between different models and frameworks as needed.


It's crucial to use the thread_ts parameter to ensure the response is sent back to the same thread, rather than creating a new one.


We also handle the request using waitUntil to ensure Slack receives a 200 response within 3 seconds. This prevents Slack from retrying the request, which we want to avoid.


Here is the code for the assistant thread message:

import { openai } from "@ai-sdk/openai";
import { createClient } from "@midday/supabase/server";
import { generateText } from "ai";
import { startOfMonth, subMonths } from "date-fns";
import { getRunwayTool, systemPrompt } from "../../tools";

export async function assistantThreadMessage(
  event: AssistantThreadStartedEvent,
  client: WebClient,
  { teamId }: { teamId: string },
) {
  const supabase = createClient({ admin: true });

  await client.assistant.threads.setStatus({
    channel_id: event.channel,
    thread_ts: event.thread_ts,
    status: "Is thinking...",
  });

  const threadHistory = await client.conversations.replies({
    channel: event.channel,
    ts: event.thread_ts,
    limit: 5,
    inclusive: true,
  });

  const lastTwoMessages = threadHistory.messages
    ?.map((msg) => ({ role: msg.bot_id ? "assistant" : "user", content: msg.text || "" }))
    .reverse();

  const { text } = await generateText({
    model: openai("gpt-4o-mini"),
    maxToolRoundtrips: 5,
    system: systemPrompt,
    messages: [
      ...(lastTwoMessages ?? []),
      { role: "user", content: event.text },
    ],
    tools: { getRunway: getRunwayTool({ defaultValues, supabase, teamId }) },
  });

  if (text) {
    await client.chat.postMessage({
      channel: event.channel,
      thread_ts: event.thread_ts,
      blocks: [{ type: "section", text: { type: "mrkdwn", text } }],
    });
  } else {
    await client.chat.postMessage({
      channel: event.channel,
      thread_ts: event.thread_ts,
      text: "Sorry, I couldn't find an answer to that.",
    });

    await client.assistant.threads.setStatus({
      channel_id: event.channel,
      thread_ts: event.thread_ts,
      status: "",
    });
  }
}

Demo of the Slack Assistant


Midday is fully open-source, and you can find the pull request for the Slack Assistant and Apps here.


You can also try Midday for your own business by signing up here.